
I've been wanting to show off my bookcase since I've finished building it but first I didn't have books on it, then it wasn't completed, and then I needed to rearrange the books since I added two more shelves to it. Finally, it's done and instead of showing it off completely I kept saying that I needed to clean the living room and straighten up the bookcase before I had a picture good enough to show off to the world. Well, that was back in September and now it is January! So it's time to show off all of the hard work I put into this behemoth of a bookshelf it is.
Since we moved into this house I've been dying to build a bookcase. We had a couple of crates just sitting around the house and I wanted to try building a bookcase out of them, like the ones I saw on Pinterest. My first bookcase only took me a month or two because all I had to do was stain the wood and then screw the crates together. For the first time building anything completely on my own, this was the perfect project! Staining the wood is what took the longest but the end result was amazing! I love the bookcase that I built. This was the summer of 2018.
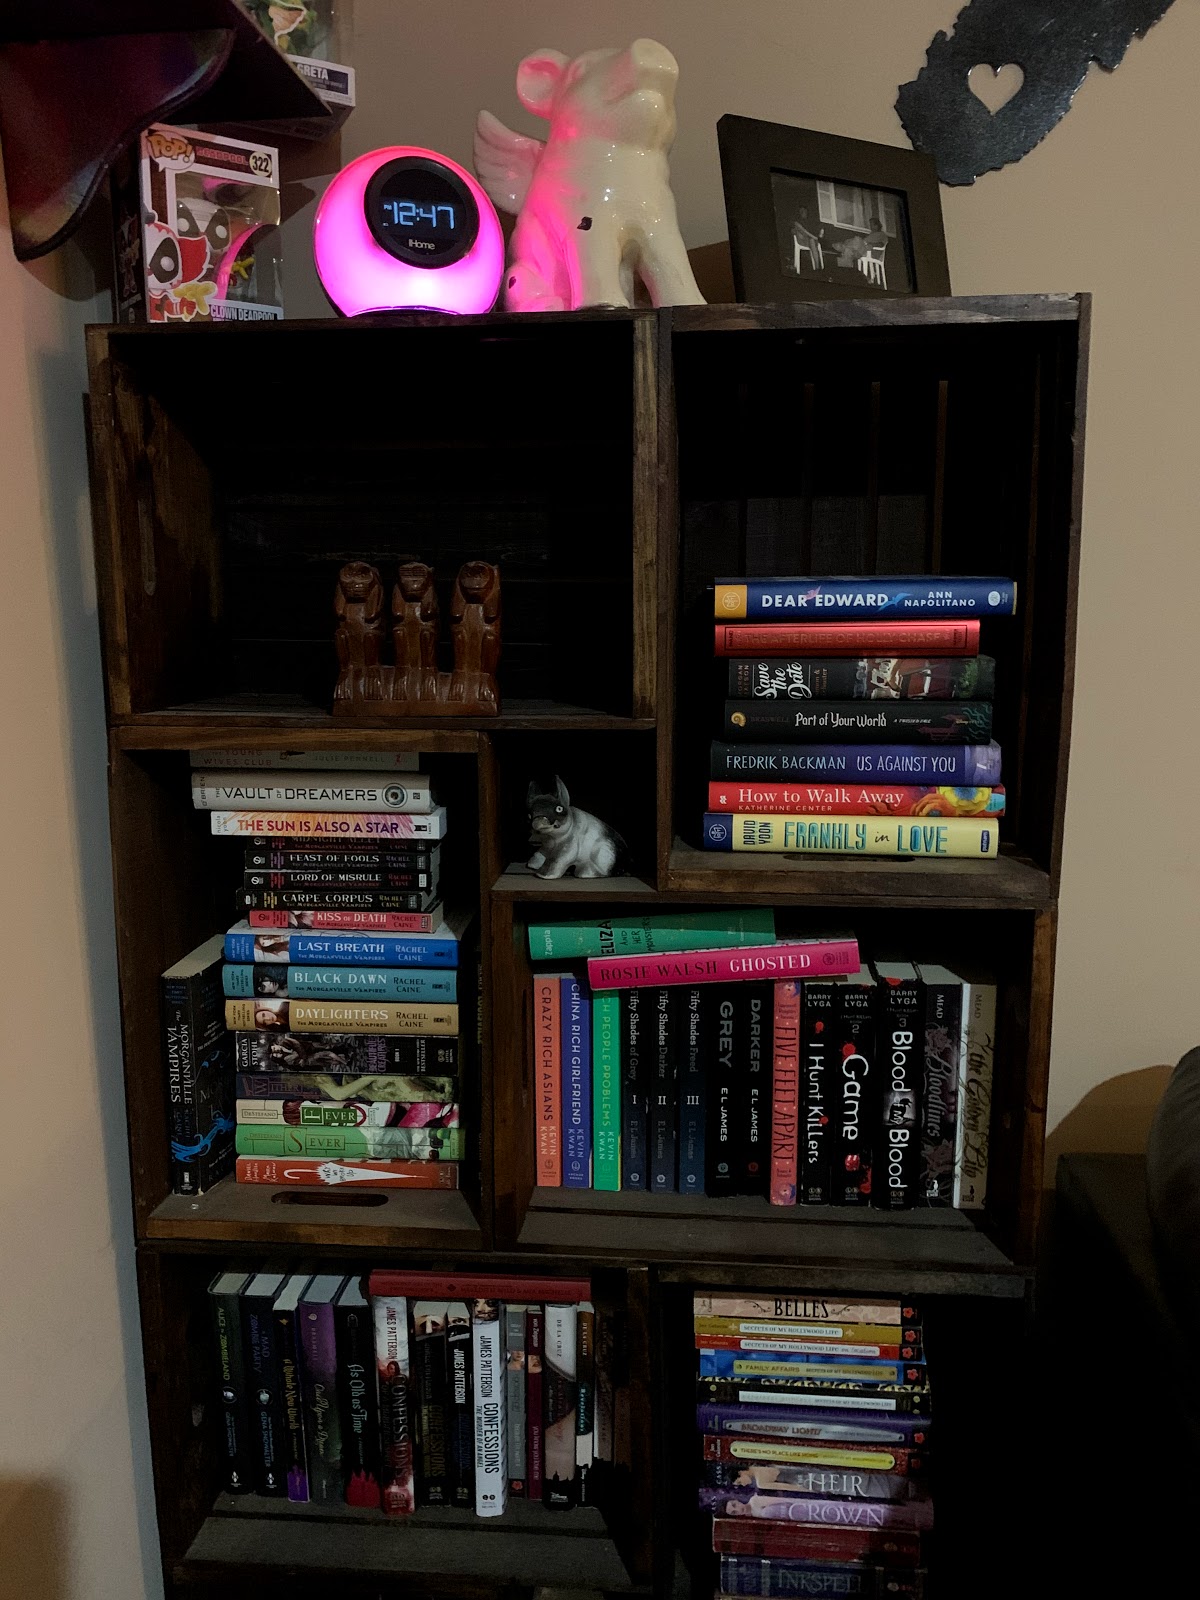 |
| Crate Bookshelf (another two crates at the bottom not in the picture) |
This last summer (summer of 2019) I wanted to be more ambitious than the previous summer. I wanted to build a bookcase that would span over a whole entire wall! I thought about it for a year and looked through different types of wall bookcases. I thought about buying multiple ones that would fit between the ceiling and the floor or maybe even have custom ones made. Both of these options are so expensive and I would've had to compromise the size I wanted it to be because of the price or not being able to find one that would fill the space. So I started thinking about the previous summer and how much fun I had building my bookcase. I loved building that bookcase and I wanted to be the one that built this one since it was for my library! Then I stumbled upon this picture on Pinterest (picture below), and then I was tagged by multiple people on Facebook of the same type of bookcase. I got to thinking about this bookcase constantly! It looks so simple yet beautiful! I could build my own custom bookcase!
 |
| Original Inspiration Picture |
Money was tight so my need to build this bookcase went to the back burner. By April we were finally financially stable enough to start branching out on projects such as building a bookcase. I talked to my fiance and family about the different options I had to do this and we all decided that if I wanted to build the bookcase I needed to be 100% sure this was the type of bookcase I wanted and that it would be sturdy enough to hold the bookcase and not pull the wall down. So it was time to start investigating the plans for this bookcase. At this point, I had no clue what material I needed to build this thing, at the time all I knew was that I needed pipe and wood. How hard could it be to build this relatively simple bookcase?

I started looking at Pinterest to see if anyone had posted the plans that they used and I found the picture above. I started learning the names of the materials I needed such as flange, elbow, and tee. I started getting an idea of how wide the wood needed to be. From here I started measuring walls in my living room to figure out which wall I wanted it to be on and how long it could potentially be. We ended up moving our entire living room around so I could build on the biggest wall available for me. I figured out I had about 17 feet of wall to play with! I was so excited! So with the inspiration from the picture above, I started drawing up plans of my own! I had a general idea of how big this thing was going to be but it wasn't until I made my first trip to Home Depot that I really started seeing how much it was going to cost to build this thing!
My first trip to Home Depot was so funny because I couldn't find anything! I've been to stores like Home Depot before but I've never gone to just shop I've always gone with my parents or we went for a purpose so I never really just walked around to shop before. This first trip I found the lumber without any issue but do you know how many different variations there are!? I knew before walking into the store I didn't want 20" wide shelves. I just felt like that was way too wide because I wanted to build it around my TV set up I already had. If you think there are a lot of different options for wood then wait until you hear about the pipes and metal stuff! Once I finally found the pipes I was looking for (in the plumbing aisle!) I had to figure out what size pipe worked best for my project. I ended up going with 1/2" pipe which was the cheapest option. I really didn't need anything bigger because there are so many supports going into it. I decided it was time to go home but I bought a couple of metal pieces just to see what it would like and how many pieces it would take. I like visual aids and it helped me see the bigger picture. So here is what I had after the first day of actually putting stuff together.
 |
| This was two feet long and the arms are four inches |
This piece above showed me that this bookcase is going to be not just wide but also very tall! Another thing that I learned while working with this piece was my bookshelves needed to be wider. The arms on this piece were only 4" long and the tall pieces were 12" long. With the arms here I was able to sit the books on them and I saw that some of them needed a bigger shelf to sit on and in some places I wanted to be able to have the option to sit some extra knick-knacks here and there. So I definitely needed to make those longer but the 12" long ones were perfect! I wanted to keep them this long because it helped make the math side of things easier for me to figure out how many pieces I needed.
From here I went back to my designs and started chopping them into the imaginary pieces I would need so I would know how many flanges I would need to connect the pipe to the wall, how many 6" pipe I would need for the shelves, how tall the actual bookcase would be, and more importantly how long each piece of wood was going to have to be to fit onto these metal pieces to make the shelves. My final design on paper ended up being 7 feet tall and 17 feet wide. I had the bookcase broken down into 3 different sections, 4 if you count the TV that was already on the wall. The first section was the top part of the bookcase which was going to be the full 17 feet wide. This section was made to fit the whole entire wall and really connect the whole bookcase, TV, and the space in the living room altogether. The second and third sections were going to mirror each other and they were both going to hold 4 shelves each. All of the shelves were going to be 5 feet long. The remaining 6 feet hold the TV stand, TV, and all of my gaming consoles. So this was my final idea that I had back in May so why did it take me so long to finish the bookcase? Well, that's easy, the answer is money. Plus I like to take my time working on this thing because it was so massive and I really wanted it to be perfect. This meant breaking it down into sections and working on it over time.

The small piece I had in the picture grew. That piece turned into four pieces. This was one of my first sections almost done! At this point, I haven't even bought the wood yet. I was just slowly building my metal pieces and collecting some of the metal pieces that I would need because some were cheaper than the others. For example, I was able to get a 10 pack of flanges on Home Depot's website and this was an amazing deal especially since I needed almost 30 flanges, so I bought two packs with my next check. In June I splurged on my bookcase! I bought my 8 pieces of 2x6 wood, wood stain, my straps, spray paint for my straps! I was so busy for the next couple of days spray painting the straps, staining the wood, and then adding a second coat of stain to the wood! It was a lot of fun and really felt like the bookcase was coming together! Here are some of the fun I had at Home Depot that day along with how much fun it was to finally have a full 7 feet long end piece for the bookcase!


Yes, I stained the wood in the house! It was a very stupid idea but it was so hot outside and this way I was able to work on it before work, after work, before bed, and so on. During this time I worked constantly on this bookcase because I wanted it perfect and it was so relaxing just staining the wood. In the background of the wood staining, you can see that the pieces of connected pipe just hung out behind my other bookcase, patiently waiting to be connected to the wall. After the wood was dry they hung out behind my couch until I had enough metal to hang to the wall. Eventually, my metal bookcase pieces doubled.
 |
| Two of the little end pieces |
At this time I had enough to put one of the sections up on the wall, and this is where my dad had to come to help me because the stud finder and I couldn't see eye to eye. Another thing that was going on during this time was that I had two end pieces that were going to be the full 7 feet long and then the two pieces by the TV were going to be only 5 feet long. I had an idea for the separate section holders at the top but they weren't connecting to the other 5 feet. I don't know why but I was adamant about this design to the point that this first section was built just like the plan.

As you can see in the image above I finally had some shelving up! I was so excited but I had a design fail. At this time I wasn't seeing it and it honestly wasn't an issue. The pictures hanging on the wall isn't the design fail I'm talking about. I left those up for as long as I could because even though I finally had this first section done it was going to take me a couple more weeks to get the second section up because I needed more metal piping. The design fail is the small leg and you will see where it becomes an issue later on in these pictures. My next step was to finally get my books out of the floor!
 |
| Ignore the metal bowl on the floor that's my dogs' water bowl and I was obviously cleaning for once since the broom is in this picture! |
The books on this bookcase obviously had no structure to them at all. I really just threw them on there to get them out of the floor of my bedroom and I knew I was going to have to reorganize them after I had the rest of the bookcase finished. Plus even though this picture shows how disorganized and dirty my living room stays all the time I had to include it because look at grumpy Lu peeking around the corner! She is such a grump! I love her!


Finally, the third section was up on the wall! I was so excited that this was finally done and up on the wall. I was so excited that I had to start putting my books up! Literally right after that last screw went into the wall I had all of my books on the floor and I was organizing them by the last name of the author and trying to figure out how I wanted to put them in the bookcase! I was so happy! At the beginning of this build, and even at this point, I was only going to use these 8 shelves to hold books. My top two shelves were going to be for my funkos. But my plan had two big flaws that I was starting to see a little bit here but I couldn't accept it yet.
 |
| Yes, that is Secrets of an American Teenager, I was obsessed with it over the summer. |
So here was my final result for my bookcase minus the first section. It stayed like this for at least a month if not longer. I didn't have all of my books out there but I had cleared up so much room with just these ones being on there! Even these books were very messy and looked like I just threw them in there. I didn't have much structure with my end caps and middle holders. I definitely didn't have my Roberts/Robb shelf yet, but I was in love with it regardless of the chaos, plus the top two shelves were just for my Funko collection that was hiding out in my bedroom closet. So even though I would've loved to have the bookcase completed I spent my extra money on my wedding that we were planning. At the time my wedding was still somewhat in the beginning stages and weddings cost money so that's where my extra money had to go. Finally, August was coming and school was about to start and I was determined to finish the bookcase! If I had to go back to school then I was tying up some loose ends and one of the biggest ones I had was this bookcase!
Another huge roadblock I was having in completing my bookcase was how in the world was I going to get two 17 feet boards home??? My dad has a truck but 17 feet is still too long for our truck to hold. Or so I thought. The pictures below show our fun journey on getting the boards home from Home Depot, which is only 10-15 minutes away from our house.


We ended up putting the boards through the window in the truck so we could hold them. They also had wraps on the end of the truck bed tying them down and one stabling it into the bed so they couldn't slide out. They are so long! I stained the wood outside like I should've done with the first 8 but by this time it was cooler outside and made it easier to work outside. By this time I had already realized one flaw in the design. Why were the two ends shorter on the inside of the bookcase and the outside ones going all 7 feet? These two shorter sides were up 5 feet tall so why not connect them to the other two feet? So I had to buy a few more metal pieces that were missing and we had to take off the top two pieces of both of the smaller sides and add the remaining two feet to them. Once those two ends were fixed we were able to add the two long shelves, which took 3 people to carry them in, navigate them into the metal racks, and then secure them. All of the racks have metal straps underneath them securing them to the metal pieces so the wood shelves won't move around. Here is the final result, which I just took this picture at Christmas time.

It took me until Christmas to get a picture that I really liked. With four dogs running around I have to dust every day and the sweeping and mopping get done weekly but the room is still never clean. I believe this was taken the day of our ugly sweater party so the whole house was extra clean which made it so easy to grab this picture. Still, the Funkos aren't perfect here because you can see the gap up there but it's the best I've been able to do so far. Obviously, this end result isn't completely the same as my original plans. Originally the top two shelves were supposed to be all Funkos. First I love how it ended up because I have more space for books, the only shelf I don't love is the very bottom shelf on the right because it isn't all that organized compared to the rest. Second, it ended up like this because the second shelf was about an inch too small to hold two rows of funkos but there was too much gap to fit just one row of Funkos. It didn't look right with that gap between the shelf and the Funko. So I have some of my Funkos in there on the very top shelf than more books, but instead of connecting all the way over with books I broke them up with family pictures! I love that even more than my original plan! My OCD kind of went berzerk with the pictures because I have two of just me, two of me and my fiance, two of my family, and two of my dogs! I always smile when I think about that. Since this picture was taken I've added a soundbar to the wall underneath the pictures and above the TV, which was something I didn't plan on doing. Just like the bookcase I originally wanted to mount the TV on the wall to help fill that space some. I was able to get a really good TV mount during Black Friday but while I was thinking about it I came to the conclusion the TV looks perfect in this picture and it hides all of my controllers and wires I have going behind the TV stand so I decided to mount the speaker instead and I mounted the TV in my bedroom.
I honestly cannot express how thrilled I am to finally have my bookcase completed! I love it so much and every day while I'm in the living room I love being able to look up at my books and see them all 'staring' back at me! I still have my crate bookcase in the living room. It has moved over giving room for my fiance to have his computer desk in the living room as well. My next project is sadly not book related I think I'm going to be ripping up the flooring in my bedroom and laying down some wood floor along with building a big dog kennel for my two dogs that stay with me 24/7. We'll just have to see what happens with that because my original plan is to put the kennel under the TV in the bookcase to hold both dogs but I don't know if 6 ft is long enough for the plans I have. We'll see what happens, I already have a second location in mind. I've learned to just be okay with things that don't always go to plan because it is okay to rearrange plans!
No comments:
Post a Comment